When planning a new renovation, flooring is often the best place to start.
Flooring is one of the most prominent indoor features, and your choice here can have a big effect on the overall look and feel of the finished product.The first step to adding new flooring is removing the old, which is why you might be wondering how exactly to best tackle flooring removal.
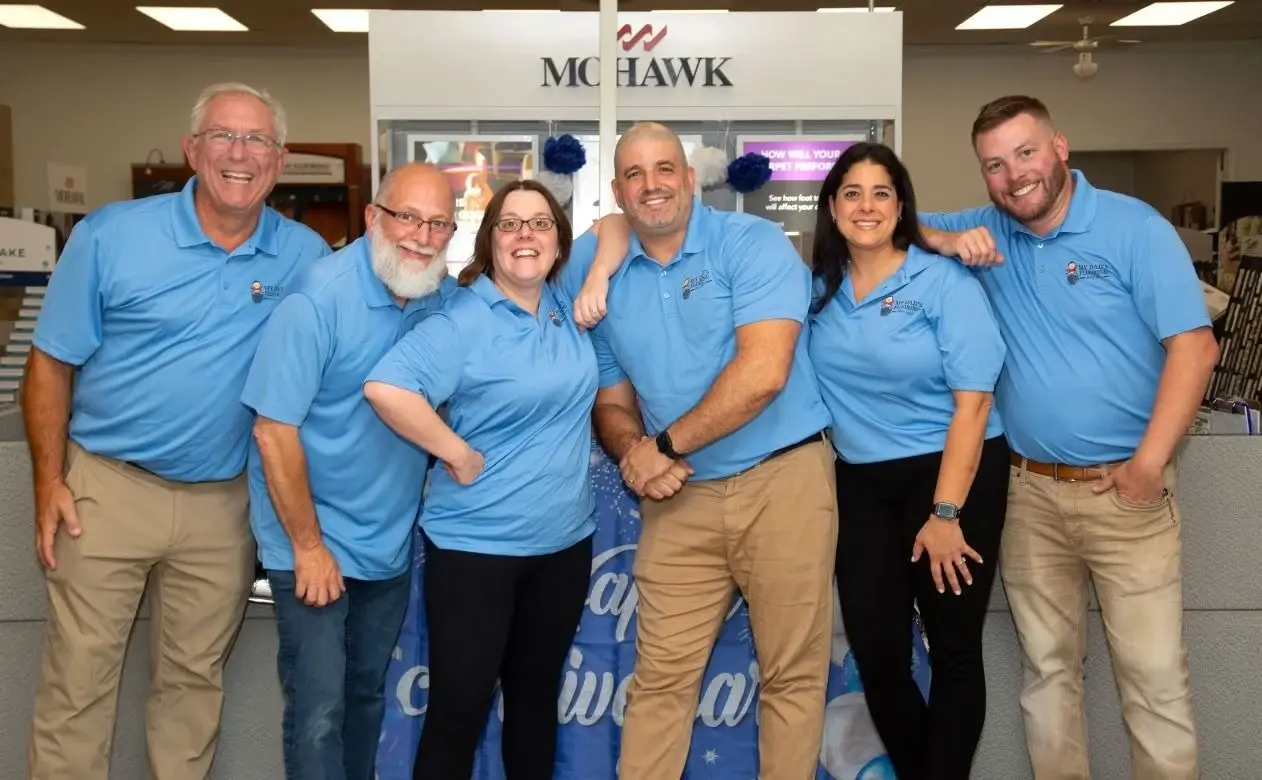
At My Dad’s Flooring, we’ve been guiding homeowners all over the Phoenixville, PA area through the flooring removal and replacement process for over 30 years, and we’re happy to help you, too. Whether you want to hire our expert flooring removal and installation team or want to take a more DIY approach, our team is here to make sure your next flooring project goes smoothly.
What Should You Know Before Starting Flooring Removal?
Before any tools come out, understanding what the actual flooring removal process involves can be incredibly helpful.
Though each type of flooring has its own challenges, as long as you’re familiar with the specifics of your current flooring, you’re already putting yourself in a much better position to start your flooring replacement project than most.
Why Is Proper Flooring Removal So Important?
Proper flooring removal is crucial when it comes to protecting the subfloor underneath it. Your subfloor serves as the structural layer that supports everything above it, and if you somehow damage it as you are removing your old flooring, it can create uneven spots that will make installing new flooring that much more difficult.
Being able to carefully remove your old flooring also helps preserve all of the existing baseboards, trim, and door casings throughout the area you are remodeling. If you can do this properly, you can reduce the need for time-consuming and costly repairs before your flooring replacement begins.
All of this translates to a much smoother flooring replacement process overall.
Can You Remove Flooring Yourself or Should You Hire Professionals?
The answer to this question is completely dependent on you.
If you’re a confident DIYer, you may already feel comfortable tackling light flooring removal projects on your own. You just need to make sure that you have the right equipment, sufficient knowledge, and a can-do attitude, and you could potentially handle all of this yourself.
That being said, proper flooring removal is not easy, and glued-down hardwood, ceramic tile, or older sheet vinyl can make removing and replacing old flooring particularly difficult to pull off by yourself. After all, all it takes is one simple mistake to bog your project down and put you over budget.
In these cases, going with professional flooring removal services is almost always the right move and has the potential to save you time and money in the process. When you are planning a full flooring replacement, professional support can be the difference between a successful project and one that misses deadlines and goes over budget.
How Do You Prepare Your Home for Flooring Removal?
All it takes is a little planning ahead of time to keep your project moving forward without any unexpected surprises.
Clearing the Space
Before you can start removing your old flooring, you’ll need to take all furniture, décor, and personal items out of the room you’re working on. Depending on where the project is taking place, this often means that you’ll need to disassemble large pieces of furniture and disconnect appliances.
It is simply impossible to remove flooring that has something sitting on it, but clearing your space isn’t just about making flooring removal easier. It’s also about protecting all of your belongings from dust, debris, and potential collateral damage during the removal process.
Planning for Noise and Disruption
Flooring removal can be noisy, as the power tools, scraping, and material movement necessary to complete your flooring replacement project all generate sound and vibration.
This can be less than ideal, but planning for this ahead of time can make the experience a lot less stressful. This means that for larger projects, it’s probably a good idea to set up temporary living and home working arrangements in another, quieter part of the house.
Checking the Subfloor Condition
Once the flooring removal process is complete and the subfloor is fully exposed, it’s the perfect time to check for moisture intrusion, squeaks, cracks, uneven sections, and any other signs of damage.
The condition of the subfloor is arguably the most important and consequential factor for any flooring replacement project, so identifying and fixing problems early is essential. Otherwise, the new flooring that you put on top of it may not look and perform nearly as well and as long as it should.
What Tools and Equipment Do You Need When Removing Old Flooring?
Different flooring materials require different tools, and you need to know what they are if you want to guarantee your next flooring removal and replacement project goes off without a hitch. However, this is also another reason why you should probably trust the professionals.
In flooring, as with every other type of project, the better the tools and equipment, the easier it will be to make the project a success. At the end of the day, we simply can’t understate just how important being able to properly use professional, industry-standard tools and equipment can be for your project.
Tools for Carpet Removal
Carpet tends to be one of the easier types of flooring to remove, usually only requiring a utility knife to cut the carpet into more manageable pieces and pliers to pull those pieces off the tack strips along the perimeter of the room.
After the carpet comes up, the padding underneath is next. This process looks almost exactly the same as the process of removing the carpeting on top, but you will need to be even more careful to make sure that you don’t damage the subfloor during removal.
Tools for Hardwood and Laminate Removal
Floating laminate floors are also one of the easier types of flooring to remove, as planks aren’t usually nailed down, meaning all you have to do is separate each board to remove it. Nailed-down hardwood is usually much more difficult and time-consuming, requiring pry bars and sometimes specialized saws to lift each plank safely.
Regardless of which type of flooring you currently have, if the planks are nailed down, you’ll need to make sure that you use the utmost care when during removal. Otherwise, you may risk damaging the subfloor underneath.
Tools for Tile and Vinyl Removal
Tile is another more difficult type of flooring to remove and often involves using chisels, scrapers, and power tools to break the mortar holding the tiles together. When it comes to vinyl, adhesives used in older vinyl installations can also be particularly stubborn and time-consuming to remove.
During this stage of flooring removal, you’ll probably need to do some sort of surface leveling before replacing your old flooring. This is incredibly important because if the subfloor isn’t completely smooth, the new materials may not be able to adhere correctly or perform as well as you expect.
What Challenges Can Come Up During Flooring Removal?
No two homes are exactly alike, and running into unexpected problems isn’t uncommon. Regardless of the specifics, here are some of the most common problems that you prepare for.
Adhesives and Stubborn Materials
Many older flooring installations used strong adhesives that bond the flooring tightly to the subfloor. This isn’t necessarily a problem, but it can make removing old flooring a lot more complex and time-intensive, especially if you don’t have access to the right tools.
Our professional flooring removal teams have all the tools and experience necessary to handle these challenges safely and efficiently. And that’s not even to mention our ability to better prepare the subfloor to ensure the best results for your next flooring replacement project.
Hidden Damage Beneath the Surface
Once you finish removing the old flooring, it’s not uncommon for hidden issues with the subfloor to appear. Everything from water damage, mold, and rot to uneven framing can all affect how well the next steps of the process go.
Being able to identify and correct these problems before replacing your flooring goes a long way to help protect your investment and ensure your new flooring lasts for decades to come.
Older Materials and Safety Concerns
In homes built more than a few decades ago, removing old flooring often requires additional precautions. Certain harmful materials or adhesives that were commonplace long ago almost always call for professional handling to be removed safely and avoid unnecessary exposure and contamination.
How Does Professional Flooring Removal Streamline Flooring Replacement?
Though DIY replacement is possible, hiring a professional will almost certainly lead to a simpler and much less stressful experience through every stage of the project.
Accurate Measurements and Planning
Before any flooring removal starts, we’ll take precise and accurate measurements of your space. These measurements aren’t just key to reducing material waste and downtime. It also helps us plan a more accurate flooring replacement timeline that gets your project started on the right foot.
Minimizing Damage to Walls and Trim
Our experienced installers use careful, proven techniques throughout the entire flooring removal process. This helps us protect your baseboards and any other surfaces surrounding the work area.
This attention to detail is also crucial to preventing the need for additional repairs before replacement starts and helps your finished space look more beautiful and polished after the project is complete.
Efficient Disposal of Old Materials
Removing debris is another key part of professional flooring removal. You need to be able to dispose of old carpet, tile, and wood properly, to keep the workspace tidy, and prevent delays during the next stages of the project. The good news is that this is yet another thing that we can handle for you.
What Happens After Flooring Removal?
Once you finish the flooring removal process, it’s time to move on to the preparation and installation phases of the project.
Subfloor Preparation
After we finish removing your old flooring, we’ll thoroughly clean and repair the subfloor to ensure that it’s in tip-top shape. This could be as simple as sweeping and vacuuming up dust, but it also often includes sanding down adhesive residue or leveling uneven spots.
Moisture testing is another key part of preparation, especially in areas prone to excess moisture and high humidity like kitchens, basements, and bathrooms.
Choosing the Right New Flooring
Up next, it’s time to focus on selecting the perfect flooring product to fit your home, lifestyle, and vision. This step is entirely up to you, but we’re happy to provide recommendations and plenty of free samples to help you find the ideal flooring for you. From hardwood, tile, and carpet to luxury vinyl plank and laminate, the options are almost endless.
Scheduling Installation
The timeline between removing your old flooring and installing the new one highly depends on the condition of your subfloor and if the material you want is currently available. However, once everything is ready, all you have to do is find a convenient time that works for you, and give us the ok to start.
Contact My Dad’s Flooring Today
Are you ready to start your next flooring removal and replacement project? Give us a call at (610) 935-2226.
Our friendly team of local flooring experts is always here to answer your questions and will happily tell you more about how we can bring the vision you have for your home to life. We’ll even offer you a free estimate and plenty of samples, so that you have all the information you need to make the best decision for you and your home.
Don’t push off removing and replacing your old, outdated flooring any longer. Contact My Dad’s Flooring and take the first step toward getting the new, beautiful floors you deserve today.